I’m just going to be completely real with you for a second: the “sourdough community” can be a little… intense.
I’m 22, and when I first started looking into sourdough, I felt like I needed a PhD in microbiology and a $500 Dutch oven just to make a single loaf. I spent hours scrolling through social media, looking at these “perfect” artisan boules with ears so sharp they could double as a weapon and crumb structures so open they couldn’t even hold a smear of butter. There’s all this talk about “hydration percentages,” “autolyse,” “bulk fermentation windows,” and “lamination.” It’s a lot. And honestly? Sometimes I don’t want a crusty, ear-shattering loaf of bread that shreds the roof of my mouth and makes a mess of crumbs all over my keyboard.
Sometimes, I just want a sandwich.
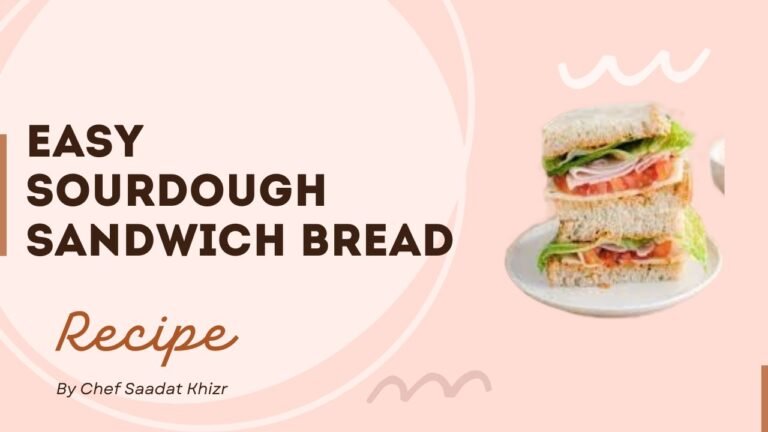
That’s where the Easy Sourdough Sandwich Bread comes in. This is the “main character” of bread recipes. It’s soft, it’s squishy, it’s tall, and it has that subtle, sophisticated tang that only a sourdough starter can give you. It’s the kind of bread that makes a basic grilled cheese feel like a life-changing event and turns a Tuesday turkey club into something you’d pay $18 for at a trendy bistro.
If you’ve been keeping a starter named “Dough-be Bryant” or “Yeasty Beasty” alive in the back of your fridge and you’re too intimidated to try the fancy artisan loaves, this recipe is your permission slip to finally bake. It’s low-stress, high-reward, and perfectly shaped for a toaster. Let’s dive into why this loaf is about to become your entire personality.

The Sourdough Glow-Up: Why Sandwich Bread is the Ultimate Starter Goal
Course: Breakfast, SidesCuisine: Modern Bakery / Comfort FoodDifficulty: Medium10-12
servings20
minutes35
minutes180
kcalThis bread stays fresh longer than standard yeast bread. Store it in a bread bag, a beeswax wrap, or a sealed container on the counter for up to 4 days.
Ingredients
1/2 cup (about 100g) active, bubbly sourdough starter
1 1/4 cups warm water (think lukewarm bath water, not boiling)
2 tablespoons honey (or maple syrup if you’re feeling Canadian)
1 1/2 teaspoons fine sea salt (don’t skip the salt—it controls the yeast and adds flavor)
3 1/2 to 4 cups all-purpose flour (You can use bread flour for a more “chewy” vibe)
Directions
- In a large bowl, whisk together your warm water, sourdough starter, honey, and melted butter. You want the starter to be mostly dissolved into a milky-looking liquid. This ensures that the wild yeast is evenly distributed so you don’t end up with one side of the loaf rising and the other side staying flat.
- Add the salt and 3 cups of flour. Stir with a sturdy spoon (or your hands—get in there!) until a shaggy, messy dough forms. Gradually add the remaining flour, about 1/4 cup at a time, until the dough is thick and starts to pull away from the bowl. It should still feel a little bit tacky (sticky), but it shouldn’t leave a thick layer of paste on your fingers.
- Turn the dough onto a floured surface. Knead it for about 6 to 8 minutes. We aren’t doing the “stretch and folds” every 30 minutes like artisan sourdough; we’re going old school. Use the heels of your hands to push the dough away, fold it back, and rotate. Since this is a sandwich loaf, we want to build a strong gluten network for a smooth, elastic dough.
- Place the dough in a lightly oiled bowl and cover it with a damp cloth or plastic wrap. Now, you wait. Because wild yeast is “wild,” it doesn’t work on a clock. It works on vibes and temperature. Let it sit in a warm spot until it has doubled in size. This could take 4 hours in a hot kitchen or 8 hours in a chilly one. Pro Tip: This is a great “overnight” step. Put it in the fridge for a “cold bulk ferment” and let it rise slowly while you sleep. The flavor gets even better this way.
- Gently deflate the dough (the “poke” test is so satisfying). Turn it out and press it into a rectangle roughly the width of your loaf pan. Roll it up tightly like a sleeping bag, creating tension on the surface. Pinch the seam shut. Place it seam-side down into a greased 9×5 inch loaf pan.
- Cover the pan and let the dough rise again. You want the dough to peek about an inch over the top of the pan, forming a beautiful dome. This usually takes 2 to 4 hours. Don’t rush this! If you put it in the oven too early, the bread will “blow out” the side.
- Preheat your oven to 375°F (190°C). If you want a shiny crust, brush the top with a little milk or egg wash. Bake for 30 to 35 minutes. The top should be a deep golden brown. If you have a thermometer, the internal temp should be 190°F-200°F.
Recipe Video
The “Discard” vs. “Active” Debate
Let’s have a quick peer-to-peer chat about your starter. Most “pro” sourdough recipes demand an active, bubbly starter that was fed exactly 4.32 hours ago at a specific temperature. If your starter isn’t peaking, they tell you not to bother.
But the beauty of a sandwich loaf especially one that uses a tiny bit of enrichment like butter or honey—is that it’s much more forgiving than a rustic country loaf. While an active starter is technically best for the fluffiest, fastest rise, you can actually use “discard” (the starter you’d normally throw away) if you’re patient with the rise times.
However, for this specific “easy” version, we’re aiming for the sweet spot: a starter that’s been fed in the last 8 to 12 hours. It’s the secret to getting that classic “sandwich” height without the artisan struggle. We want the wild yeast to be awake, but they don’t need to be doing backflips.
The Science of the “Squish”
Traditional sourdough is just flour, water, and salt. That’s what makes it crusty, chewy, and full of those big holes. But for sandwich bread, we want enrichment. In the baking world, “enriched” just means we’re adding a little fat and sugar.
By adding a little bit of butter and a hint of honey, we soften the “crumb” (the inside part of the bread). The fat coats the flour molecules, which physically prevents long, tough gluten strands from forming. This is how you get a loaf that stays soft for days instead of turning into a brick by Tuesday morning. The honey doesn’t make it taste like dessert; it just provides a little food for the yeast and a subtle depth of flavor that balances the sourdough’s natural acidity. It’s the difference between “fancy bakery bread you eat once” and “bread I can actually eat for lunch every day.”
Why Sourdough is Actually Better for Your Gut
We need to talk about the “why” behind sourdough, because it’s not just about the vibes. Unlike store-bought bread that is pumped with commercial yeast and preservatives to make it rise in 45 minutes, sourdough is a slow burn.
The long fermentation process allows the wild yeast and lactic acid bacteria to partially break down the gluten and phytic acid in the flour. This makes it way easier for your body to digest. If you’re someone who feels “bloated” after eating a regular sandwich, sourdough might be your new best friend. It’s basically pre-digested bread (in a totally non-gross way). Plus, the natural acidity acts as a preservative, meaning this bread stays fresh on your counter longer than a standard homemade loaf.
Final Thoughts
The hardest part of this entire process is waiting for the bread to cool. I know it smells like heaven, but if you cut into it while it’s steaming, you’ll squish the crumb and turn it gummy. Give it at least an hour.
Because of the natural acidity in the sourdough, this bread stays fresh longer than standard yeast bread. Store it in a bread bag, a beeswax wrap, or a sealed container on the counter for up to 4 days. If it starts to get a little dry after that, it’s officially “French Toast” or “Crouton” territory.
This is the kind of recipe that makes you feel like you’ve conquered the sourdough mountain without ever having to buy a specialized proofing basket or a razor blade. It’s practical, it’s delicious, and it makes the best toast you’ve ever had in your life. Stop overcomplicating your starter and just make some sandwich bread. You deserve it!