This KitchenAid Ice Cream Recipe is simple, customizable, and perfect for summer or any time you need a sweet treat. Whether you prefer classic vanilla, rich chocolate, or a fun mix-in like cookies or fruit, this recipe is your ticket to homemade ice cream bliss.

Kitchenaid Ice Cream Recipe
Course: DessertCuisine: AmericanDifficulty: Easy6
servings10
minutes20
minutes300
kcalKitchenaid Ice Cream Recipe Ingredients and Instructions
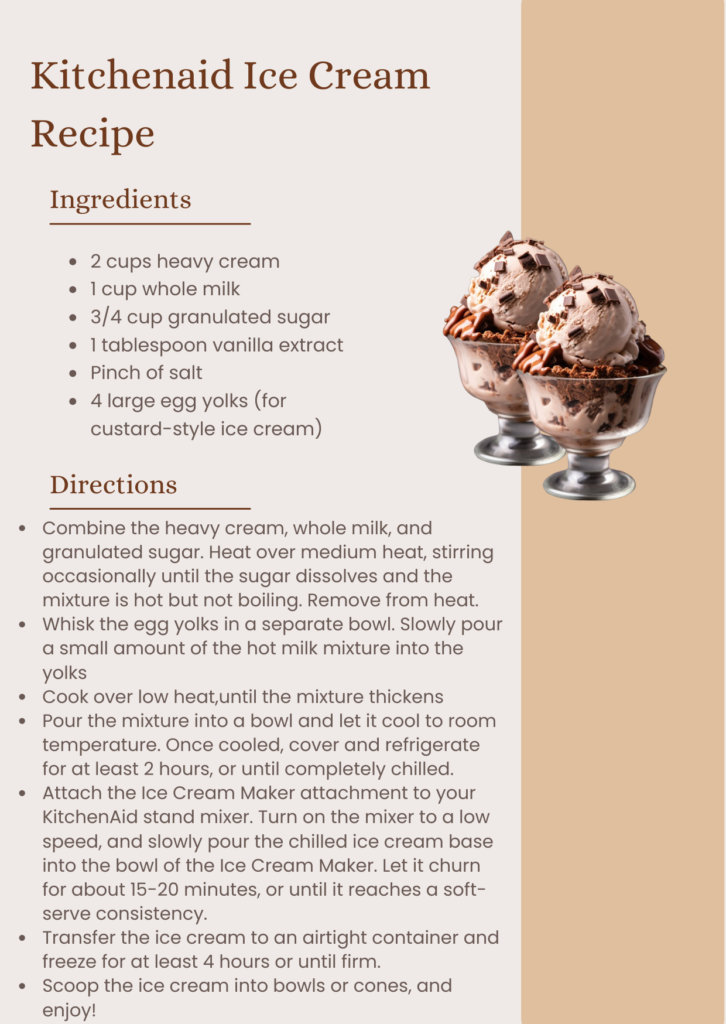
Ingredients
2 cups heavy cream
1 cup whole milk
3/4 cup granulated sugar
1 tablespoon vanilla extract
Pinch of salt
4 large egg yolks (for custard-style ice cream)
Directions
- In a medium saucepan, combine the heavy cream, whole milk, and granulated sugar. Heat over medium heat, stirring occasionally until the sugar dissolves and the mixture is hot but not boiling. Remove from heat.
- If using egg yolks for a custard-style ice cream, whisk the egg yolks in a separate bowl. Slowly pour a small amount of the hot milk mixture into the yolks, whisking constantly to temper them. Gradually add the yolk mixture back into the saucepan while stirring constantly. Cook over low heat, stirring constantly until the mixture thickens enough to coat the back of a spoon. Be careful not to let it boil.
- Pour the mixture into a bowl and let it cool to room temperature. Once cooled, cover and refrigerate for at least 2 hours, or until completely chilled.
- Attach the Ice Cream Maker attachment to your KitchenAid stand mixer. Turn on the mixer to a low speed, and slowly pour the chilled ice cream base into the bowl of the Ice Cream Maker. Let it churn for about 15-20 minutes, or until it reaches a soft-serve consistency.
- Transfer the ice cream to an airtight container and freeze for at least 4 hours or until firm.
- Scoop the ice cream into bowls or cones, and enjoy!
Recipe Video
Serving Suggestions for KitchenAid Ice Cream
Serve your homemade ice cream in bowls or cones, topped with sprinkles, chocolate sauce, fresh fruit, or whipped cream. Pair it with warm brownies, pie, or cookies for an indulgent dessert.
For a fun twist, make ice cream sandwiches or use it as a base for milkshakes. The possibilities are endless!
Storage Instructions
Store your homemade ice cream in an airtight container in the freezer for up to 2 weeks. Place a piece of parchment paper or plastic wrap directly on the surface of the ice cream to prevent ice crystals from forming.
Let it sit at room temperature for a few minutes before scooping for the best texture.
FAQs
Q: Do I need the KitchenAid Ice Cream Attachment to make this recipe?
A: Yes, the attachment is designed to churn and freeze the ice cream mixture. However, you can use a standalone ice cream maker if you don’t have the attachment.
Q: Can I make this recipe without eggs?
A: Yes, you can make a no-cook, egg-free version by using heavy cream, sweetened condensed milk, and your favorite flavors.
Q: How can I make dairy-free ice cream?
A: Substitute the heavy cream and milk with coconut milk, almond milk, or another non-dairy alternative.
Q: Can I add mix-ins like cookies or fruit?
A: Absolutely! Add your favorite mix-ins during the last few minutes of churning for even distribution.
Q: Why is my ice cream too hard?
A: Homemade ice cream tends to freeze harder than store-bought. Let it sit at room temperature for a few minutes before scooping, or add a tablespoon of alcohol (like vodka) to the mixture to keep it softer.